
Tags
#bakeoftheweek, #CookBlogShare, Alexandra McDermott, Bucks County cookbook, Bucks County recipes, candy making, cocoa-molasses fudge recipes, coconut easter eggs, coconut-chocolate candy eggs, Cookbook publishing, cookbook writing, Dash-away bars, heritage cooking, old-fashioned chocolate fudge recipe, Potato Pie and Cherry Pickle, Shop Local, The Sibling Writery, vintage recipes, yum-yum cake
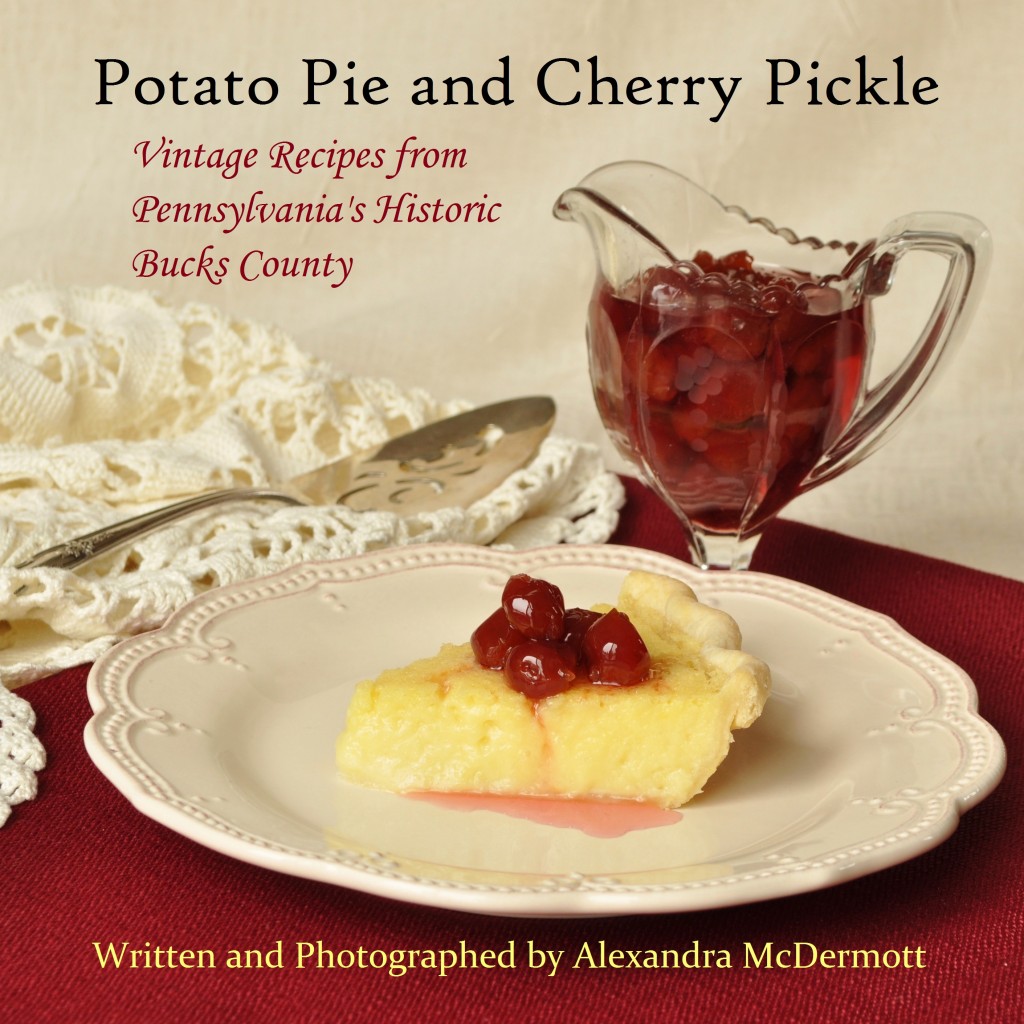
See the cover of this book? I’ve seen the image hundreds of times over the last six months. The first time was back when I styled and shot the picture. Then I stared at it for hours while I fiddled around with fonts and colours for the title. I saw it every day while I was working on the manuscript for my cookbook–I even had it set as my desktop background to keep myself thinking about the cookbook all the time.
And still, when I went downstairs this morning and saw it on the front of a book, a real book with crisp white pages and a glossy cover, I felt startled by it.
Yes, my cookbook is finally published. I submitted the final manuscript for Potato Pie and Cherry Pickle at the end of June, and I got my first batch of copies from the printer yesterday. Looking through the book for the first time was an odd experience: everything about it was so familiar–the pictures I took, the recipes I wrote, the fonts and layout I chose–yet seeing it all together for the first time was delightfully surprising, just as if I had had nothing to do with it at all. I keep looking at it expecting to see someone else’s name on the cover.
I already blogged about a few recipes from my cookbook: Dash-Away Bars, Yum-Yum Cake, and Coconut Easter Eggs. And back in December, before I even quite knew that I was going to write the cookbook, I also blogged about a recipe for cocoa-molasses fudge, which I had found in one of my old Bucks County recipe books. However, it did end up getting into the cookbook; and during the six months of testing, I improved the recipe so that it’s even better now. I’m giving the updated version to you today. Since it was the first recipe I made for the cookbook–or perhaps I should call it the recipe that made the cookbook, since it was the one that led me to firmly decide to write Potato Pie and Cherry Pickle–it had to be the one that I included in this post today.
I hope you will make a batch of this fudge and join me in celebrating! If you would like to purchase Potato Pie and Cherry Pickle, or at least would like to take a peek inside, it is available on both Amazon.com and Amazon.co.uk. You can also purchase it through my siblings’ and my website, The Sibling Writery. You can read more about the story behind Potato Pie and Cherry Pickle here.

I’m linking this recipe up with Casa Costello’s Bake of the Week and the Cook, Blog, Share event over at Supergolden Bakes.

 I also use locally-produced molasses when I make this fudge; and as the original recipe was linked up with the Shop Local challenge run by Elizabeth of Elizabeth’s Kitchen Diary, this improved version certainly deserves the same treatment!
![]()
<!– start LinkyTools script –>
Powered by Linky Tools
Click here to enter your link and view this Linky Tools list…
Cocoa-Molasses Fudge
Ingredients:
2 ¼ cups (450 g.) granulated sugar 1 cup (240 ml) whole milk 1 tablespoon (15 ml) cooking molasses 1 cup (90 g.) natural cocoa powder 1 cup (240 ml) water 4 tablespoons (60 g.) unsalted butter, softened 1 teaspoon vanilla extractTechnique:
- Line the bottom of a 9-x-5-inch loaf pan with parchment paper. Generously butter the paper and sides of the pan.
- In a 3-quart, heavy-bottomed saucepan, combine the sugar, milk, and molasses. Place over medium-high heat and bring to a boil.
- Make a paste out of the cocoa powder and water. Whisk into the boiling mixture. Reduce heat slightly.
- Continue to boil, stirring occasionally to prevent scorching, until the mixture reaches the soft-ball stage (238°F/115°C), 30 to 35 minutes. At this stage, a small amount dropped into ice water will harden sufficiently to be rolled into a soft, pliable ball.
- Remove the pan from the heat. Dot the butter over the surface of the sugar mixture, but do not stir. Stand aside and let cool to lukewarm (110-120°F/43-49°C), 12 to 15 minutes.
- Add the vanilla extract. Beat fudge vigorously with a wooden spoon until it holds its shape when dropped from the spoon, 10 to 15 minutes.
- Immediately spread the fudge in the prepared pan; knock sharply on the counter to break up any air bubbles.
- Before the fudge has fully set, cut it into squares, using a knife dipped in cool water and wiping off the blade between each cut.
- Once the fudge has completely set, remove squares from the pan and stack between sheets of wax paper in an airtight container. Store in a cool spot for up to 3 weeks.
Yield: approximately 1 ¼ lb.

Pingback: Cocoa Molasses Fudge | The Lass In The Apron
I just ordered 2 copies of “Potato Pie and Cherry Pickle”! I cannot wait to try these recipes! Congratulations and Thank you.
Thank you so much. I hope you enjoy the recipes as much as we do . . . and if you can’t decide which one to try first, I’ll be happy to give you a list of my favorites! When you do try a recipe, make sure you let me know how it turns out!
Pingback: Toffee & Pecan Roulade - Bake of the Week - Casa Costello
Oh massive congratulations to you – You must be thrilled with your published book. The front cover looks brilliant and so unique. Thanks so much for joining in with #Bakeoftheweek -your fudge looks great!
Thank you, Helen. It is a big thrill!
Congratulations on your cookbook! It must be a wonderful and slightly unreal feeling to see your own recipe book in print for the first time. I love the sound of the fudge too. I’d make some – if I wasn’t trying to lose some baby weight at the moment!
Thank you! Now that I’ve started selling copies, it’s becoming more real. I feel that I actually am the creator of the cookbook, at any rate. The fudge is delicious, but rather decadent to say the least–certainly not ideal for losing weight!
Pingback: Molasses Flapjacks and another Announcement | The Lass In The Apron
a delicious recipe (again!) thanks for sharing with Shop Local. Congrats on the book too – it sounds fantastic!
Thank you, Elizabeth!
Pingback: Shop Local July 2014 Round Up
Pingback: Slapjacks | The Lass In The Apron