
Tags
Alphabakes, Anglo-Italian recipes, baking, biscotti with yeast recipe, cooking camp, eggless biscotti recipe, flapjacks, Food and Wine, golden syrup, homemade biscotti, L'Academie de Cuisine, nut-free biscotti recipe, oatmeal-chocolate chunk biscotti, pastry school, We Should Cocoa, yeast baking
 I never was a big fan of biscotti—possibly because I’m not a coffee drinker (although I am fast becoming addicted to baking with espresso powder it seems), but mostly because I always found that the ones in the stores tasted stale.
I have a sneaking suspicion that stores hold biscotti on their shelves far longer than they should, rationalizing that biscotti are so dry and crunchy anyway, no one will notice if they’re a bit stale.
Well, I do.
 I also find store-brought biscotti invariably rock hard, and I don’t like eating anything that makes me worry about breaking a tooth.
But then I learned how to make biscotti for myself. I’d like to say that, fed up with the inferior product in stores, yet convinced that a better, truer version of biscotti was attainable, I decided to attempt recreating the Italian specialty in my home kitchen. In reality, that wasn’t how it happened at all. It was what might be called a “happy accident.”
 The summer before my senior year in high school, I went to a “Globetrotters” cooking camp for teens at the recreational campus of L’Academie de Cuisine, the cooking school that I would, one year later, attend to study pastry arts professionally.
The camp was five days long, and each day we focused on a different country’s cuisine. The third day was Italy. It was a particularly exciting day, because NBC had sent out a TV crew to take footage of the camp and interview the participants for a short “See What These Kids Are Doing On Summer Vacation” segment for the local news hour.
My interview didn’t make it onto the clip, but I was featured as a close-up shot (eating one of the mini margherita pizza we had made that day). I remember the cameraman telling me to pretend that he wasn’t there and feeling terribly self-conscious as I tried to ignore the huge black camera a few feet from my face; however, I was pleasantly surprised by how natural I appeared in the segment when it aired a few weeks later.
Obviously, the presence of a film crew made the atmosphere in the kitchen, which I already found exhilarating, even more special than usual; and furthermore, we also learned how to make fresh pasta by hand that day, a moment that I can candidly say was life-changing.
 Sandwiched between the thrill of our five minutes of fame and that revelatory first mouthful of pasta, our instructor taught us how to make cornmeal-and-dried fruit biscotti. And I liked it. It was crunchy, yes, but there was enough “give” to render the process of taking a bite a pleasure rather than a terror, and there was something resembling crumb texture inside, instead of the brick-like rigidity I was expecting.
 Over the next several years, I kept bumping into biscotti: chocolate-pistachio ones at the wedding cake shop where I did my externship for pastry school, traditional almond ones from an Italian friend, and some incredible cranberry-ginger and espresso-cinnamon ones at the dessert class that I breezed through at the George Brown College Chef School this spring (a class that I apparently could have gotten an exemption from, since I already had a diploma in pastry arts, but why would I have wanted to do that?).
And each time I tasted handmade biscotti, I liked them more and more. I still didn’t make them at home though, because my mother is allergic to eggs and almonds, both ingredients that figure prominently in biscotti recipes.
 I began to keep my eyes open for an eggless recipe, however, and was very excited when I found one on the Food and Wine website. There was, unfortunately, one slight problem. It was a recipe for savoury biscotti. Disappointed, but intrigued by the fact that the recipe called for using a yeast sponge instead of baking powder as a rising agent, I decided that it was time I took a little initiative.
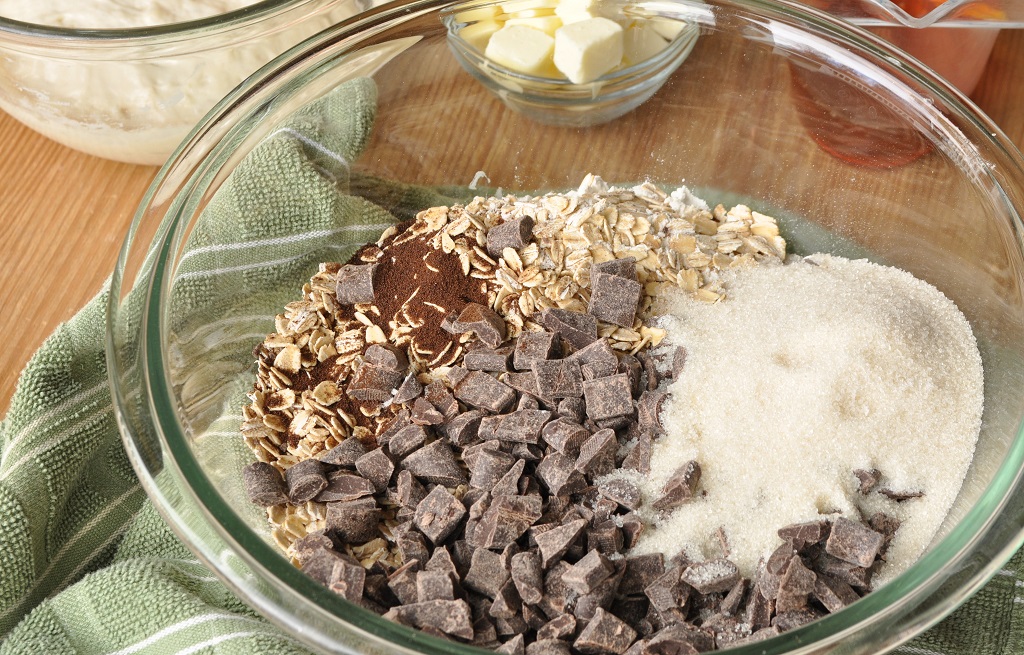
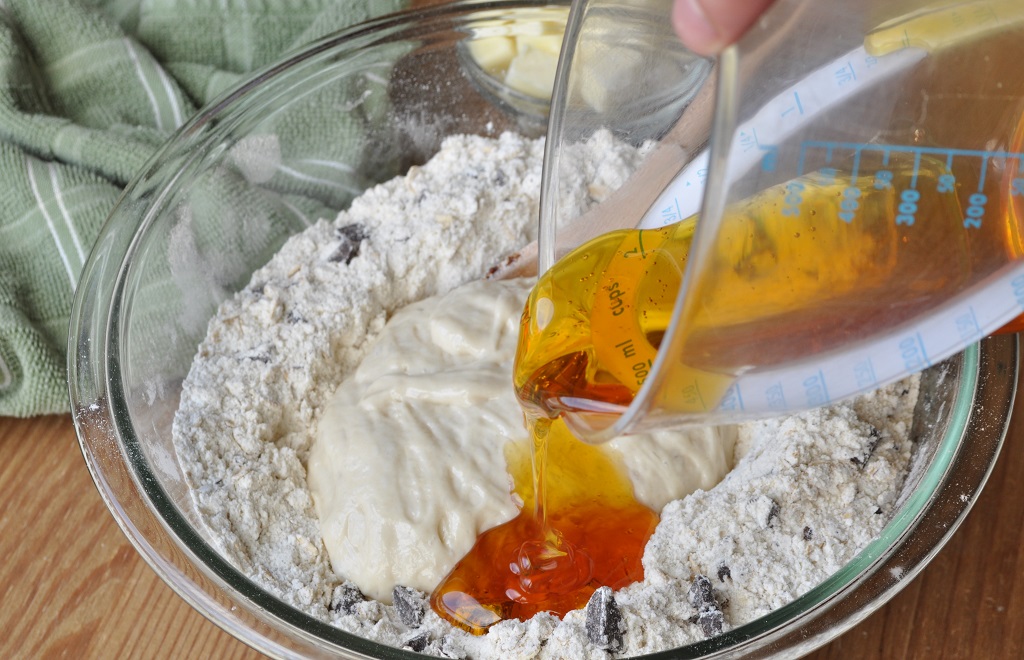 So, after a good deal of cookbook studying, I wrote out a tentative recipe and gave it a try. I used the yeast-sponge method and a combination of granulated sugar and golden syrup for sweeteners. I added chocolate chunks and espresso powder—I told you I was addicted to baking with it—and included rolled oats, rather than nuts.
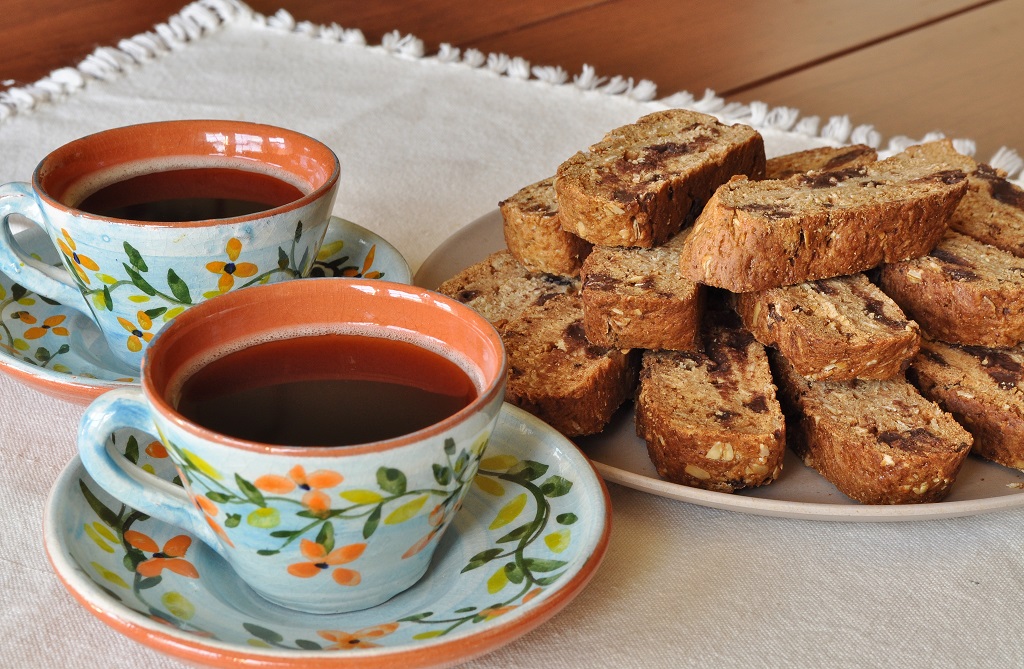
 I’m delighted with how the biscotti turned out. The absence of eggs isn’t noticeable at all. The yeast sponge contributes a faint touch of maltiness, while the chew of the oats provides a pleasing contrast to the biscotti’s crunchy texture. The flavour of the golden syrup, mingling with the aroma of oats, gives these treats a unique Anglo-Italian flair.
 Like flapjacks, only with a foreign accent and dressed in an Armani suit.
 These biscotti are my contribution to We Should Cocoa, the monthly blog challenge run by Choclette of Chocolate Log Blog. This month’s challenge, hosted by Rebecca of BakeNQuilt, is cookies—such fun!
 I am also submitting them to Alphabakes, which is run by The More Than Occasional Baker and Caroline Makes. This month it is Caroline’s turn to host the event, and the letter selected was O.
 Oatmeal-Chocolate Chunk Biscotti
Ingredients:
2 ¼ teaspoons active dry yeast ½ cup warm water 2 ¾ cups all-purpose flour ½ cup plus 1 tablespoon granulated sugar 1 teaspoon espresso powder 1 cup chocolate chunks 1 cup rolled oats ⅓ cup golden syrup 6 tablespoons unsalted butter, at room temperatureTechnique:
- In a medium bowl, combine the yeast and warm water, and let stand until small bubbles rise to the surface, about 5 minutes.
- Add one tablespoon of the sugar and ¾ cup of the flour to the yeast mixture and stir well to form a sponge.
- Cover and let rise until light and puffy, about 30 minutes.
- Line a rimmed 17-x-12-inch sheet pan with parchment paper. Set aside.
- In a second, larger bowl, combine the remaining ½ cup of granulated sugar and 2 cups of flour with the espresso powder, chocolate chunks, and rolled oats.
- Make a well in the center of the dry ingredients and add the sponge, golden syrup, and softened butter. Stir with a sturdy wooden spoon until a dough is starting to form, and then turn the mixture out onto a lightly floured counter.
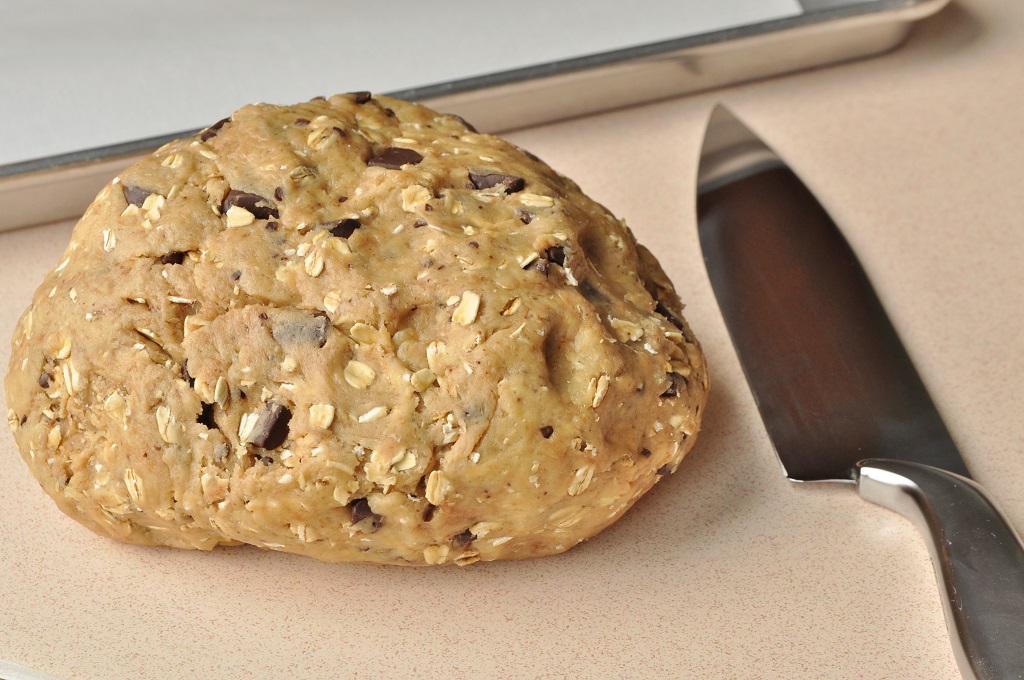
- Knead until the dough is smooth and cohesive, at least five minutes. If you prefer, you can mix the dough in a stand mixer fitted with a paddle attachment, as it is a rather heavy dough to work with, but do finish it by hand on the counter.
- Divide the dough into two equal portions and roll each half into a 12-inch log.
- Transfer the logs to the prepared baking sheet, placing them so that their ends are flush against the rims on the pan’s long sides, and spacing the logs several inches apart.
- Flatten the top of the logs with the palm of your hand. (I also like to take a ruler and press it against the sides to square them off evenly, but this is merely my being fussy. It is completely unnecessary.)
- Cover the logs with dampened paper towels and plastic wrap. Set them aside to rise for 1 hour to 1 hour and 10 minutes, or until slightly risen.
- Preheat oven to 350°F.
- Once the logs have risen, uncover them and transfer the pan to the oven.
- Bake until the logs are puffed and golden, 30 to 35 minutes. They will still be soft to the touch. If you have an instant-read thermometer, the internal temperature should be 205°F.
- Transfer the pan to a baking sheet and let the logs cool for 20 minutes. Reduce the oven temperature to 300°F.
- Transfer the partially cooled logs to a large cutting board and use a serrated knife to slice them on an angle into ½-inch-thick wedges.
- Place the sliced cookies back onto the parchment-lined baking sheet, standing them upright on their bases so that both cut sides are exposed and spacing the cookies 1 inch apart.
- Return to the oven and bake until the biscotti are crisp and golden brown, 1 hour to 1 hour and 10 minutes. They will still give a little when you press on them, but will harden further after they are cooled.
- Transfer the baked biscotti to wire racks and allow them to cool completely.
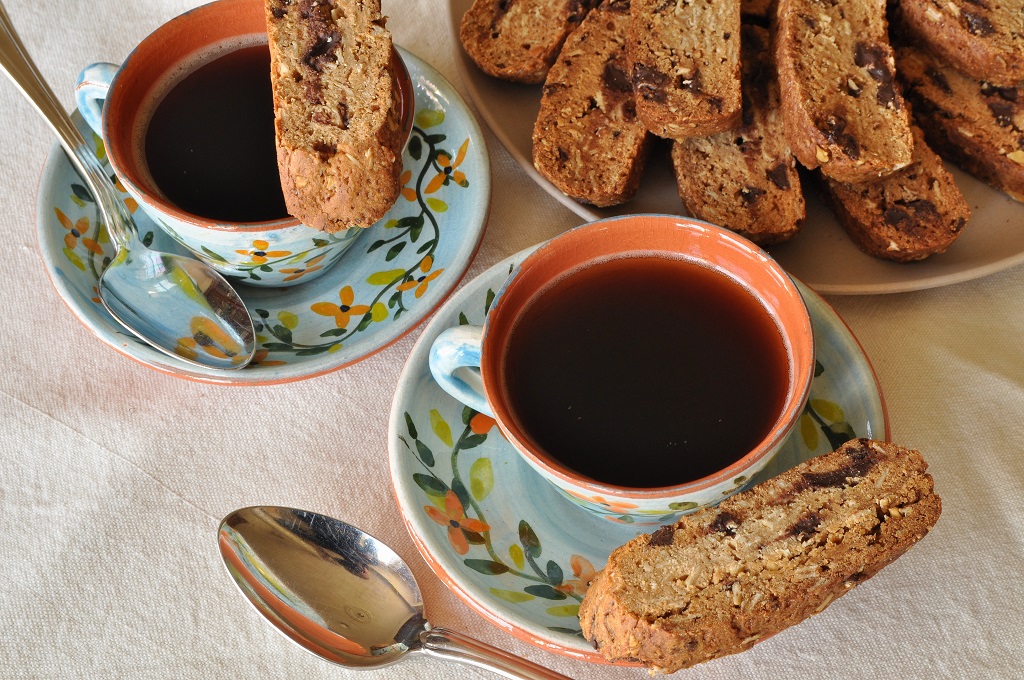
- Serve with coffee, tea, or milk for dunking. The biscotti can be stored in an airtight container at room temperature for up to 2 weeks.
Yield: Approximately 3 dozen biscotti, 3 inches long and ½-inch wide

Oh you clever thing. Your biscotti sound amazingly good and I am keen to try. Am bookmarking this for sure. Thanks for submitting these to We Should Cocoa. Getting the texture of biscotti just right is not easy – I managed it once, but not the 2nd time. Third time lucky!
Thank you, Choclette! Absolutely love We Should Cocoa–it gives me great inspiration for creating new recipes.
I agree with you – most of the biscotti I’ve ever had have been like trying to eat a rock and I don’t drink coffee, tea or milk so I’m out of luck on the dunking. These look wonderful and I’m really intrigued by the yeast leavening! I might have to try this with my sourdough starter and see what happens. Thanks for playing along with We Should Cocoa this month!
The yeast really does add a nice flavour–I’d be interested to know how a sourdough starter would work. If you try it, be sure to let me know! Thank you for hosting We Should Cocoa; cookies was such a fun challenge.
Pingback: Biscotti pan di zenzero di vetro | BrontoloinPentola
These sound great – and I’m equally interested reading about your pastry and chef school training! Do you work as a professional cook? Very pleased to welcome you to Alphabakes, thanks for taking part!
No, I don’t work as a chef–I’m interested in food writing. As a matter of fact, I’ve just started doing research for my first cookbook! However, I have worked in kitchens before (a German pastry shop and a wedding cake shop) and really enjoyed it.
Pingback: An Irish Girl Can Make Biscotti – Holiday Recipe #4 | 365 Days of Thank You