
Tags
baking, blitz puff pastry, caramel, double turns, gateau st. honore, homemade puff pastry, how to make puff pastry, jalousies, laminated dough, making puff pastry, napoleans, palmiers, pastry, quick puff pastry, quick puff pastry recipe, rough puff pastry, single turns
 Many pastry chefs consider puff pastry to be the pinnacle of their art. The careful and laborious process of layering butter and dough to create a pastry that rises miraculously, tastes heavenly, and shatters delicately into a thousand shards of gold when you bite into it, is possibly the most rewarding and exciting feat ever accomplished in the kitchen.
 And puff pastry is so versatile. Its buttery fragrance and crisp flakes are welcome in both sweet and savory dishes. It is the basis for a glorious collection of traditional French pastries: napoleons, jalousies, Gateau St. Honore, pithivier, and palmiers. You can use it in place of strudel dough or as an upgrade from ordinary piecrust on potpies. It is one of those rare recipes that is as useful as it is extraordinary.
 Sadly, puff pastry has a reputation for being difficult to make, so few people attempt to make it at home, preferring to buy the frozen stuff available in the grocery stores instead. And I admit, the classical method for making puff pastry is rather long and painstaking for the home cook. But the truth is, unless you are making vol-au-vents that have to rise perfectly evenly, you don’t need to make classical puff pastry. In every other application, quick puff pastry, also called rough or ‘blitz’ puff, provides equally satisfactory results.
 Quick puff is extremely straightforward. You toss together a pound of flour, a teaspoon of salt, and 12 ounces of butter cut into one-inch chunks in the bowl of a stand mixer fitted with a paddle attachment. Then you take a cup of cold water, turn on the mixer, and pour in the water, letting the machine run just long enough for the flour to absorb the water. The result will be the most ungainly, shaggy dough you’ve ever seen, but don’t let that discourage you.

 From there, all you have to do is give the dough a series of “turns” to create those beautiful layers—this does take some time, because the dough has to be chilled between turns, but the actual work left to do is less than 10 minutes.


 Once the dough has been given all the necessary turns (either six single turns or a combination of two single and two double turns will do, but the combined method doesn’t take as long), it can be stored in the refrigerator for two days or frozen for up to two months.
 I put half of my dough in the freezer, to be used for some future undecided treat, and made palmiers with the remaining half.

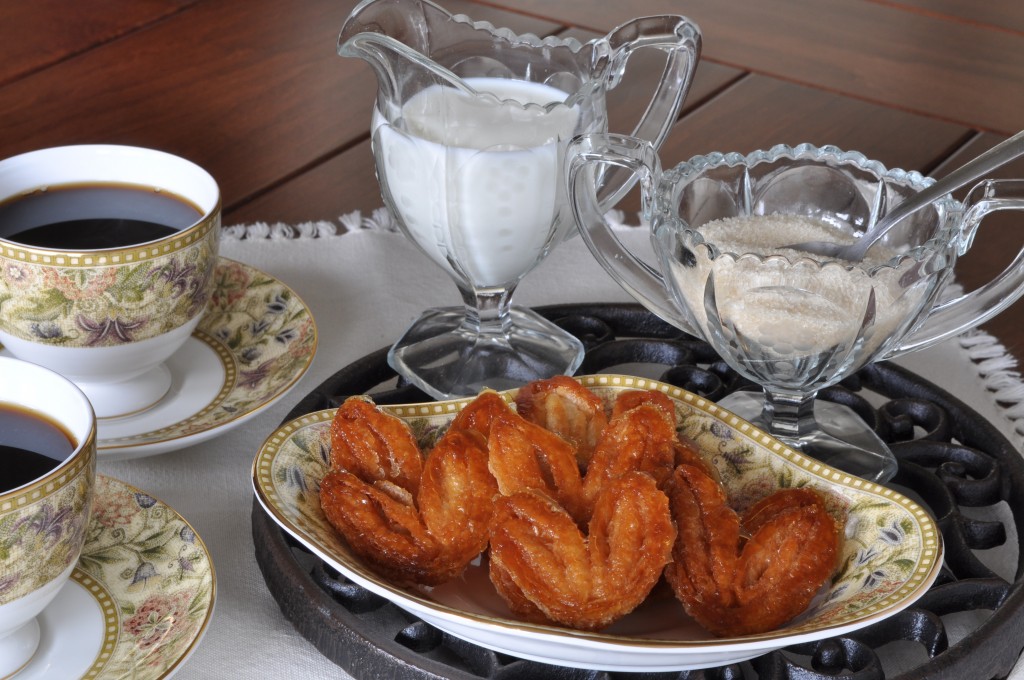
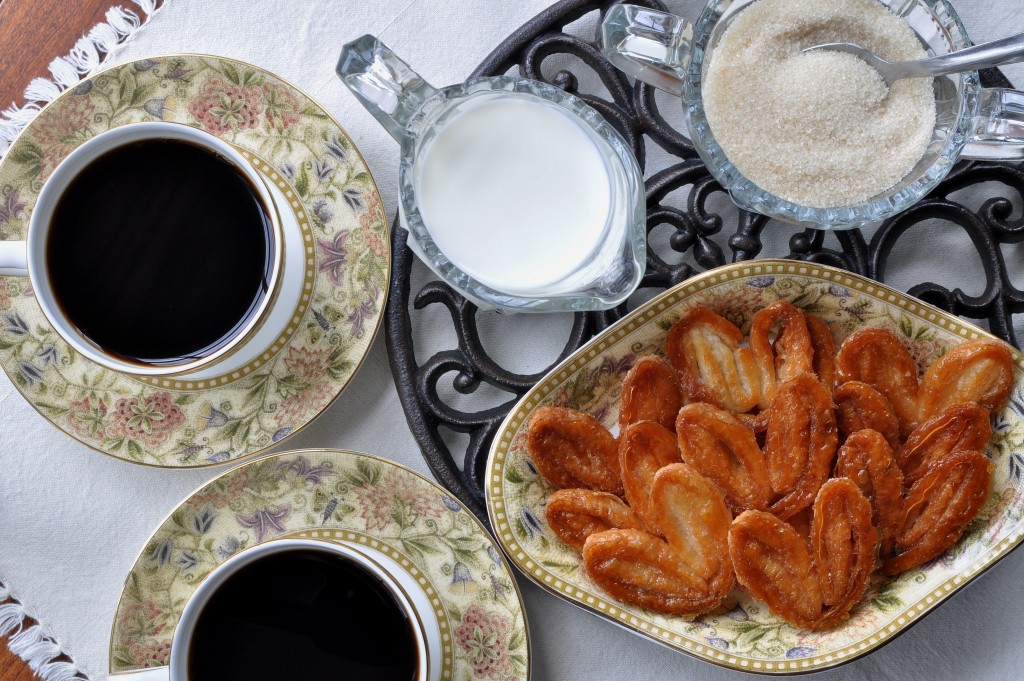
 Palmiers are my favorite way to use puff pastry: the dough is rolled out in granulated sugar, folded up into a spiraled log, sliced, and baked until the sugar has turned a rich dark gold. The combination of crunchy pastry and caramelized sugar, and the melding of their buttery and butterscotch flavors, is, in my opinion, the purest way to showcase what is best about puff pastry.
Quick Puff Pastry
Although quick puff is a shortcut version of classic puff pastry, please do not think that this means it is an inferior product in any way. As a matter of fact, I have always found that my quick puff rises just as well as my classic puff—and the instructor at pastry school who taught me how to make both kinds of puff always had better luck with the quick version, too!
Note: I have given instructions for the combined method of single and double turns here, because that’s what I always do. If, however, you want to give your puff the traditional six single turns, just follow the instructions for the first single turn and repeat it five times.
Ingredients:
1 lb. all-purpose flour 1 teaspoon salt 1 ½ cups (12 oz.) cold unsalted butter, cut into 1-inch cubes 1 cup cold waterTechnique:
- Combine the flour and salt in the bowl of a stand mixer fitted with the paddle attachment.
- Toss the butter cubes with the flour.
- Switch on the mixer, and immediately begin pouring in the water. As soon as all the water has been absorbed, shut off the mixer.
- Turn the dough out onto the counter. It will be shaggy and lumpy, with big clumps of butter and patches of dry flour in it. Don’t worry. This is how it is supposed to look.
- Press the mass together as well as you can and then use a rolling pin to flatten it into a ½-inch thick rectangle, about 8 inches by 15 inches.
- To make a single turn, carefully lift one of the rectangle’s short edges, fold over one third of the dough, and then fold the remaining dough over it—just like folding a letter. Flatten the block of dough slightly by lightly pressing it down with the rolling pin. Press a fingertip into the corner of the dough to mark the completed turn.
- Wrap the dough in plastic wrap and refrigerate until the butter in the dough has chilled and become firm again, 30 to 40 minutes.
- Dust the work surface with flour, and remove the chilled dough from the refrigerator. Remove the plastic wrap and roll the dough out into a ½-inch thick rectangle again.
- Now make a double turn: fold over both short sides of the rectangle to meet in the middle, and then fold the dough in half. Flatten slightly with the rolling pin.
- Press one fingertip into the dough, and then, directly above the first mark, press two fingertips into the dough. This will mark that you have done one single and one double turn.
- Re-wrap the dough and chill until the butter has become firm again, another 30 to 40 minutes.
- Repeat from the second half of step 5 to complete a total of two single and two double turns, marking the dough after each turn to help you keep track.
- Once all the turns are completed, the dough can be refrigerated for two days or frozen for up to two months.
- To use frozen dough, transfer it to the refrigerator the day before you want to use it, so that it can thaw out overnight.
Palmiers
These start out as narrow, elongated spirals of dough, and then puff out into heart-shaped, butterfly-winged pastries in the oven. They are light and crunchy, and will fill your house with the most delicious aroma as they bake.
Ingredients:
Quick puff, all turns completed Granulated sugarTechnique:
- Heavily dust a work surface with granulated sugar.
- Roll out the quick puff into a rectangle 12 inches wide and ⅛-inch thick. Turn the dough over a few times while you are rolling it out, to insure that both sides of the dough are thoroughly coated with sugar.
- Trim the edges of the dough. Fold each of the long sides of the rectangle over one-quarter of the way, and then fold them over again to meet in the center. Fold the dough in half.
- Chill the folded log of dough until it is firm enough to cut.
- Use a sharp knife to slice the dough into ⅜-inch thick slices. Place the palmiers on parchment-lined sheet pans (or use a Silpat if you have one) and refrigerate the shaped pastries overnight.
- Preheat the oven to 400ºF. Bake the palmiers for 10 minutes, or until puffed and beginning to turn golden.
- Turn down the temperature to 375ºF and bake for an additional 8 to 10 minutes, or until dark gold in color.
- Allow to cool on the trays for five minutes, and then remove to a wire rack.
- Palmiers are best served on the day they are baked. If you need to store them, freeze them and then re-heat on a parchment-lined sheet pan at 325ºF before serving.

Pingback: Cheese-Olive Puffs | Zlater Family CookBook