
Tags
chocolate, Christmas cookies, Christmas traditions, cream cheese, Enjoy Life Foods, Martha Stewart's Cookies, mini chocolate chips, saskatoon berry, shaping thumbprint cookies, thumbprint cookies
 At Christmas time, even the most adventurous bakers become predictable. We make the same things, year after year. I love it.
I love knowing that, each December, batches of raspberry bars, sweet with jam and fragrant with buttery shortbread, will emerge from the oven. I look forward to the annual ritual of pouring cans of sweetened condensed milk over a pan of seven-layer bars. My very earliest Christmas memory took place in the kitchen. I was probably four at the time, and we were sprinkling sugar cookies with green and red sanding sugars. I remember thinking that it was very special because even my father was in the kitchen making cookies. Usually it was just the girls in the family who did the baking.
Thumbprint cookies always make an appearance on our Christmas plates, soft crumbly cookies studded with walnuts, with a gleaming center of jam. When we make them, we pull out every kind of jam that we have in the refrigerator, and even buy some extra flavors that we don’t usually keep around the house. It’s a great way to add variety to a Christmas cookie plate without having to make a lot of different kinds of cookies; everybody can just pick the flavor of jam that they like best. My favorite is blackberry. My dad likes apricot. Everybody loves raspberry.

This year we’re introducing a new flavor: saskatoon. It’s a berry that grows in western Canada; the town of Saskatoon, Saskatchewan was named after it. The berry is also found in the northern parts of the western United States, but I’d never heard of it until I moved to Canada (although plenty of Canadians haven’t heard of the saskatoon either, at least not in Ontario). Saskatoons closely resemble blueberries in appearance, but the flavor tastes more like a combination of a cherry and a Concord grape to me. I’m sure that it will be wonderful in the cookies. (I’ll be sure to let you know how they turn out.)

However, there’s always room for a little experimentation, even at Christmas time. I wouldn’t dream of replacing our traditional thumbprints, but that wasn’t going to stop me from trying out another variation.

I found this recipe for chocolate-cream cheese thumbprints in Martha Stewart’s Cookies (although I had actually clipped it out of one of her magazines years before), and immediately wanted to try it. For despite my lifelong history with thumbprint cookies, I had never tried one made with a chocolate dough.

After my last post, it might be too soon to be talking about chocolate again. But you see, in my opinion, it’s never too soon or too late to talk about chocolate (or eat it). Furthermore, I love chocolate with cream cheese; and in case you have never tried this combination, I feel the necessity of informing you about it as quickly as possible. And these tender chocolate cookies, with their smooth, tangy filling and sparkly crust of sugar, are about the best imaginable way to be introduced to it.

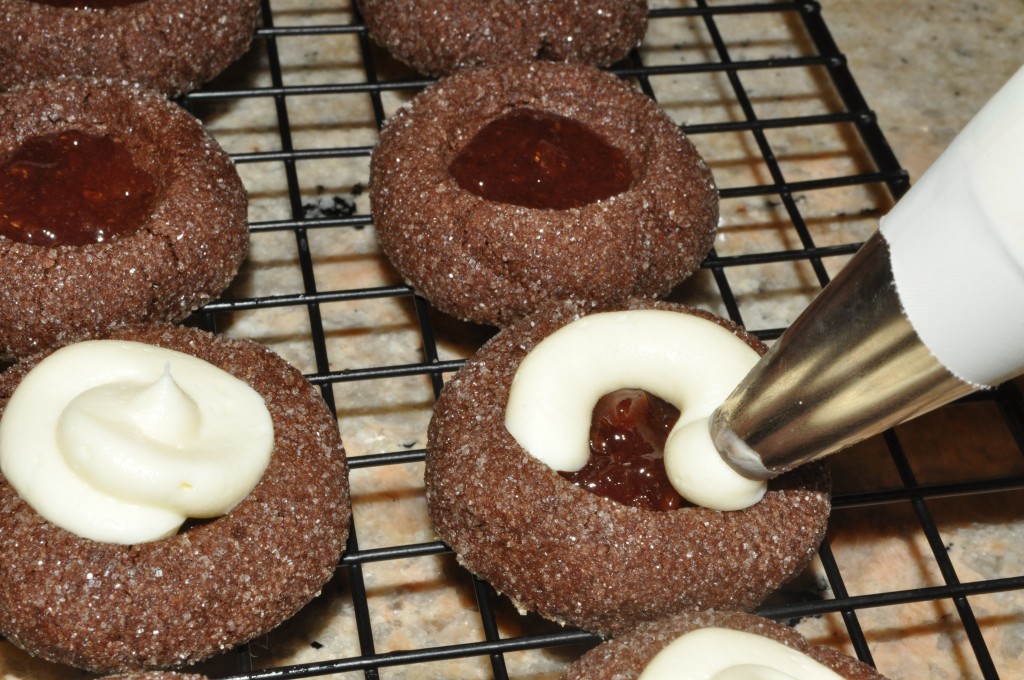
Martha Stewart’s original recipe called for topping the cream cheese filling with chopped strawberries. Obviously this is not a possibility in the middle of winter. So I piped a little raspberry jam into each impression first, and then added the cream cheese filling. I also sprinkled some miniature chocolate chips on top of each cookie.

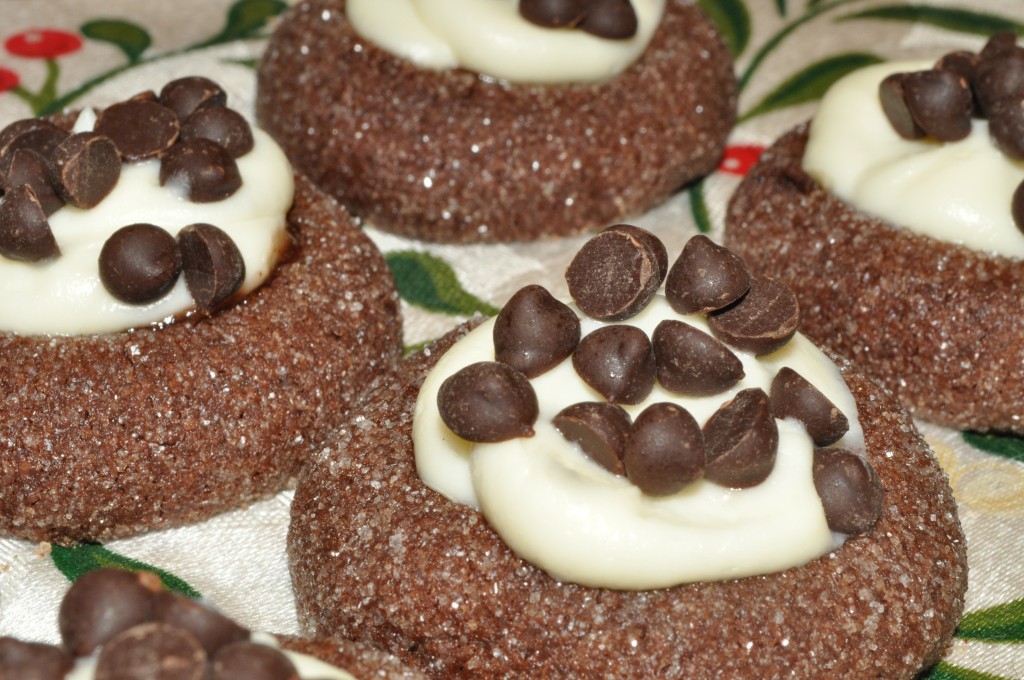
I used the brand Enjoy Life, which makes soy-, dairy-, nut-, and gluten-free products. I don’t have allergies to any of those ingredients, but I adore their mini chips anyway. They’re made with brown sugar instead of white, which adds a lot of flavor.
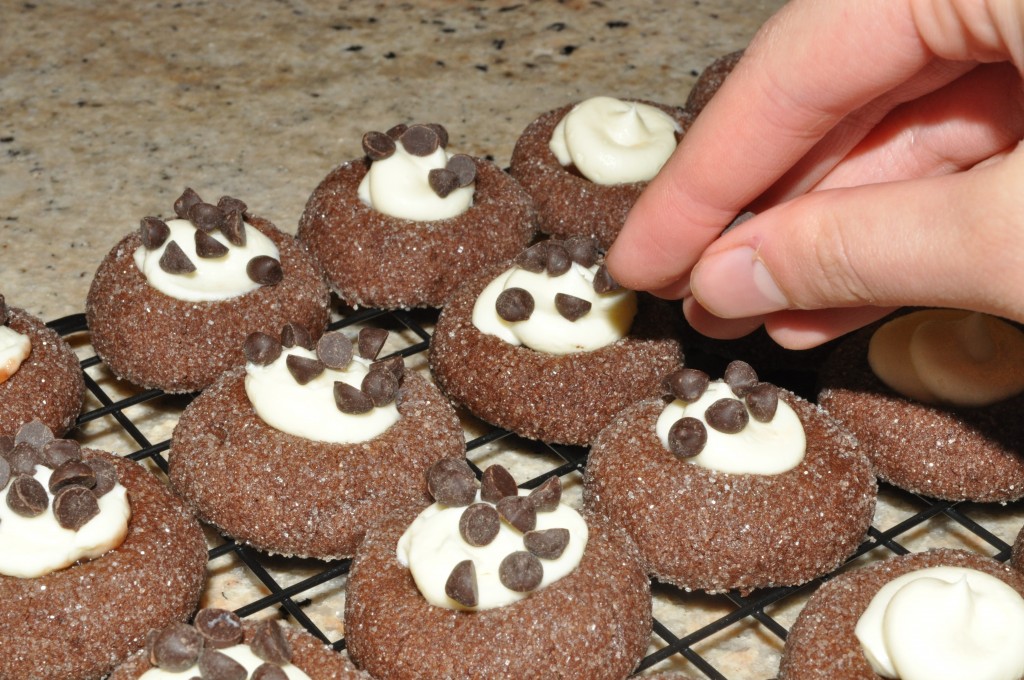
I thought adding the chips made the cookies look very Christmassy. Like little snow-capped mountains with boulders peeking up through the snow.
Oh, and they tasted really good, too.

Chocolate-Cream Cheese Thumbprints
Adapted from Martha Stewart’s Cookies
Note: As I mentioned above, the original recipe called for a strawberry topping, which I replaced with a sprinkling of mini chocolate chips and a dab of raspberry jam, feeling that this was more appropriate to the season. Furthermore, a topping of fresh strawberries severely limits the shelf life and portability of cookies, which is not particularly ideal when you want to include them on Christmas cookie plates. Other than that, the only change I made to the recipe was to add vanilla extract to the cream cheese filling.
Ingredients: For the cookie dough: 2 oz. semisweet chocolate, chopped ¾ cup all-purpose flour ¼ cup unsweetened Dutch-processed cocoa ¼ teaspoon salt ½ cup unsalted butter, at room temperature ¼ cup granulated sugar 1 egg yolk ½ teaspoon vanilla extract For the cream cheese filling: 4 oz. cream cheese, at room temperature 2 tablespoons confectioners’ sugar ½ teaspoon vanilla extract Granulated sugar for rolling Raspberry jam, pushed through a sieve to remove the seeds (or use seedless jam) Mini chocolate chips for sprinkling Technique:- Bring a pot of water to a simmer on the stovetop. Place the chopped chocolate in a heatproof bowl and place it over the simmering water. Stir the chocolate occasionally until it is completely melted, and then set it aside to cool slightly.
- In another bowl, sift together the flour, cocoa powder, and salt.
- In a mixer fitted with a paddle attachment, cream the butter and sugar together until light and fluffy. Add the egg yolk, vanilla, and cooled chocolate. Scrape down the sides of the bowl.
- With the mixer on low speed, beat in the sifted dry ingredients until thoroughly incorporated. Cover the dough and chill for 1 hour.
- Preheat the oven to 350°F/180°C. Pour some granulated sugar into a shallow bowl.
- Take the cookie dough out of the refrigerator and shape it into 3/4-inch balls. (If you have a digital kitchen scale, you may want to try weighing out the dough, as this is an easy way to achieve perfectly consistent results. I found that 14 grams of dough yielded the correct size ball.)
- Roll the dough balls in the granulated sugar, and then place them on ungreased baking sheets, spacing at least 1 inch apart.
- Use your thumb to press down the center of each ball.
- Bake the cookies for 10 minutes. Remove from the oven and press down the center of each cookie again. Martha Stewart suggested using the end of a wooden spoon, but I found that a round teaspoon measure with a flat bottom worked much better. Be careful not to bump your knuckles on the hot sheet pan though.

- Return the cookies to the oven and bake for an additional 5 minutes, until the edges begin to crack and the cookies are set. Transfer to a wire rack to cool.
- Beat together the cream cheese, confectioners’ sugar, and vanilla in a small bowl. Now you are ready to fill the cookies.

- I chose to use pastry bags fitted with round tips to pipe the jam and the cream cheese filling into my thumbprints; but if you don’t want the bother of having to clean the bags afterwards, or if you don’t have any, just spoon a bit of jam into the bottom of each impression and then top it with a spoonful of the cream cheese filling.
- Sprinkle a few mini chocolate chips on each cookie.
- The cookies have to be stored in the refrigerator after they have been filled, but unfilled cookies can be stored at room temperature in an airtight container for up to 3 days. If you store the filled cookies in the refrigerator, they do soften slightly. But I rather liked them that way.


Yield: about 2 1/2 dozen cookies

Pingback: Jam Pockets | familyrecipebooks